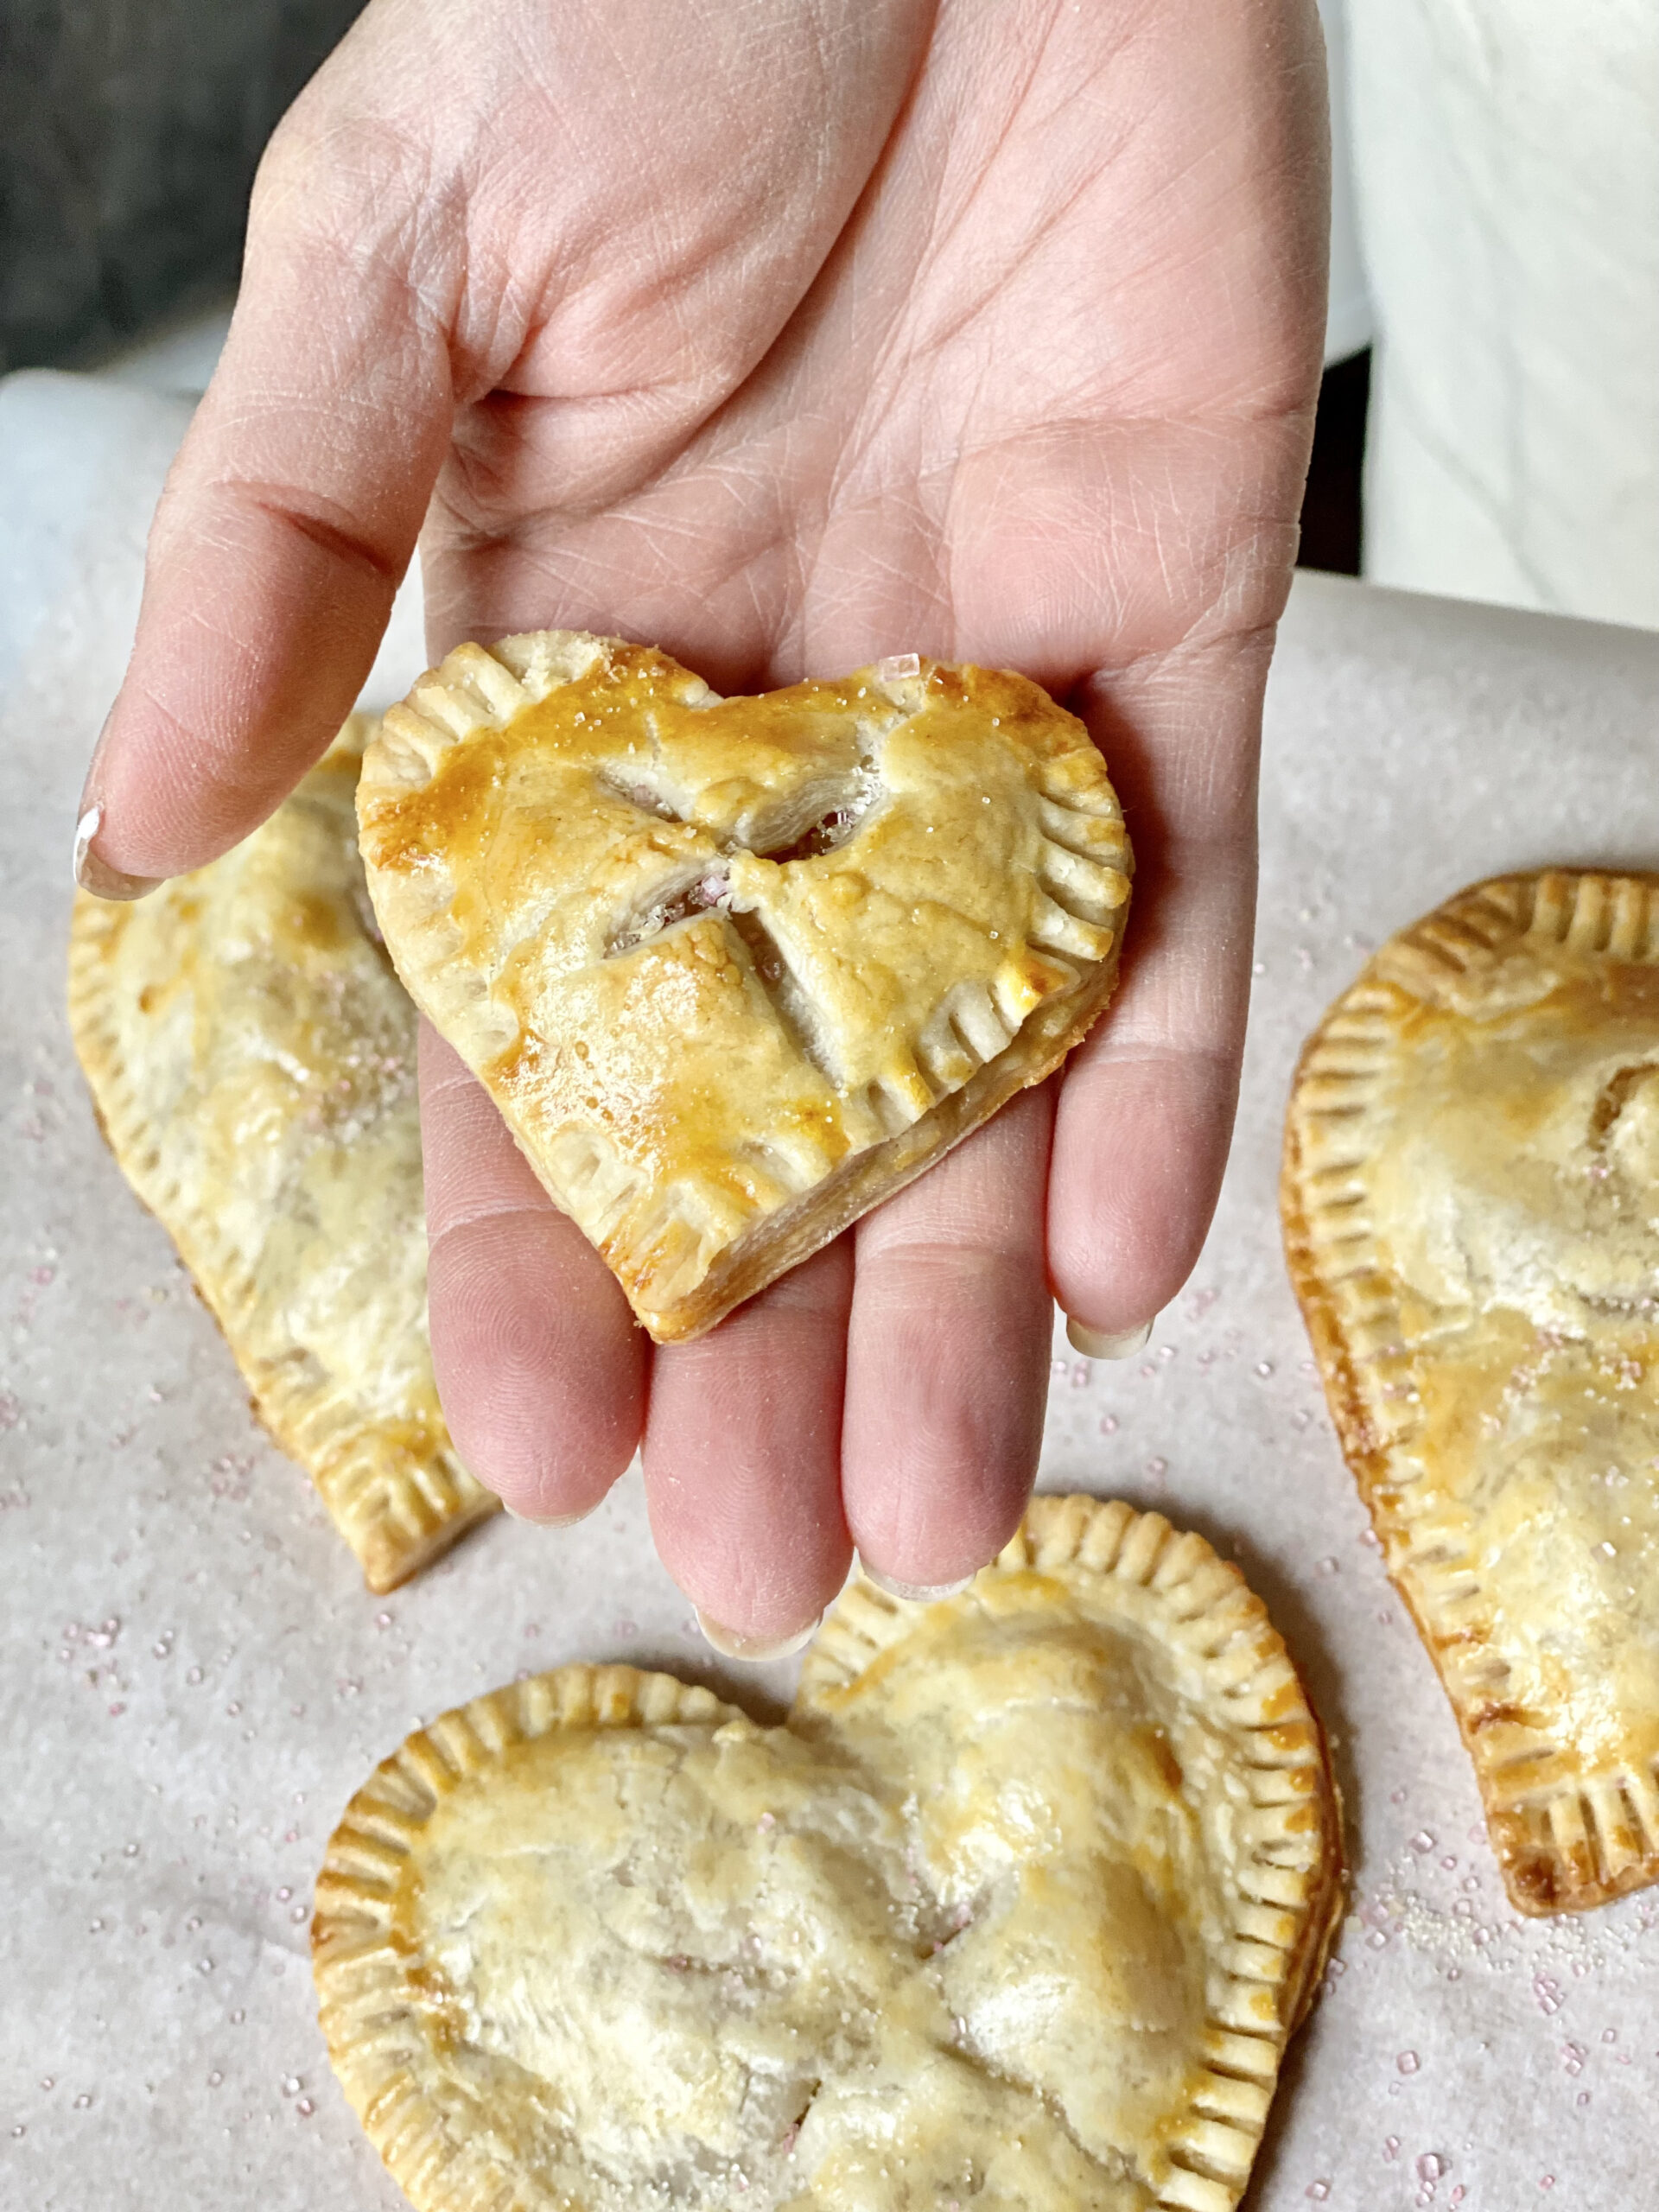
Get ready for a swoon-worthy treat that’s as delightful as it is charming! Whether you’re gearing up for Valentine’s Day or just in the mood for a burst of sweetness, these heart-shaped hand pies are here to steal the show. With the ease of ready-made pie crust, this recipe blends simplicity with heartwarming charm, creating […]
DIYs, Recipes & Interior Design tips
The Blog

Trust me, as a military spouse, I know firsthand the importance of self-care in a lifestyle filled with frequent moves, extended separations, and other stressors. It’s so so easy to get caught up in the daily demands and responsibilities of military life, but taking care of yourself should always be a top priority. That’s why […]
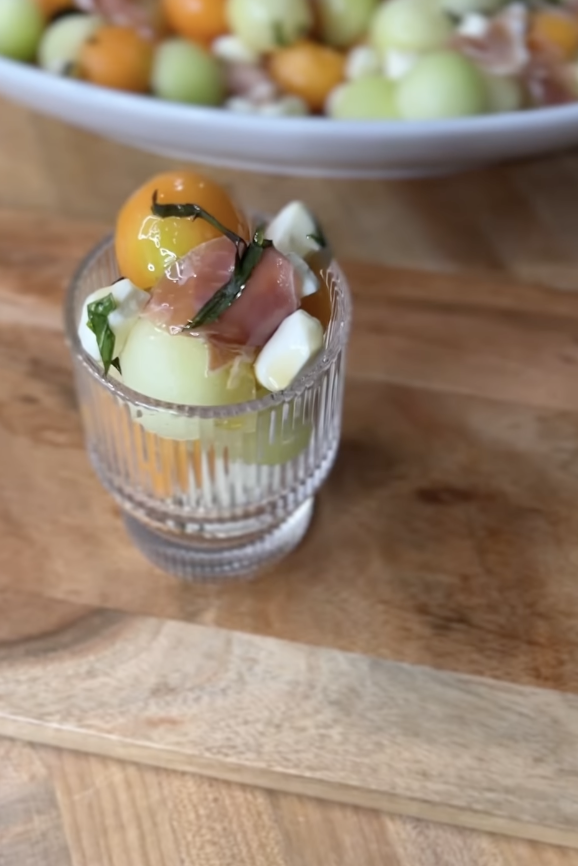
Let’s spice up melon salad! This juicy salad is a mixture of cantaloupe, honeydew, and prosciutto. Let’s come together to make a fun summer party snack! This recipe is loved by all ages, as it is an easy, healthy recipe for families of all size. This quick and easy salad is great for busy families […]

As a military spouse myself, I know all too well the challenges that come with deployment. When your partner is deployed, it can feel like your life is on hold and that you’re navigating this experience alone. With the right strategies and support, you CAN navigate deployment with resilience and grace. In this blog post, […]
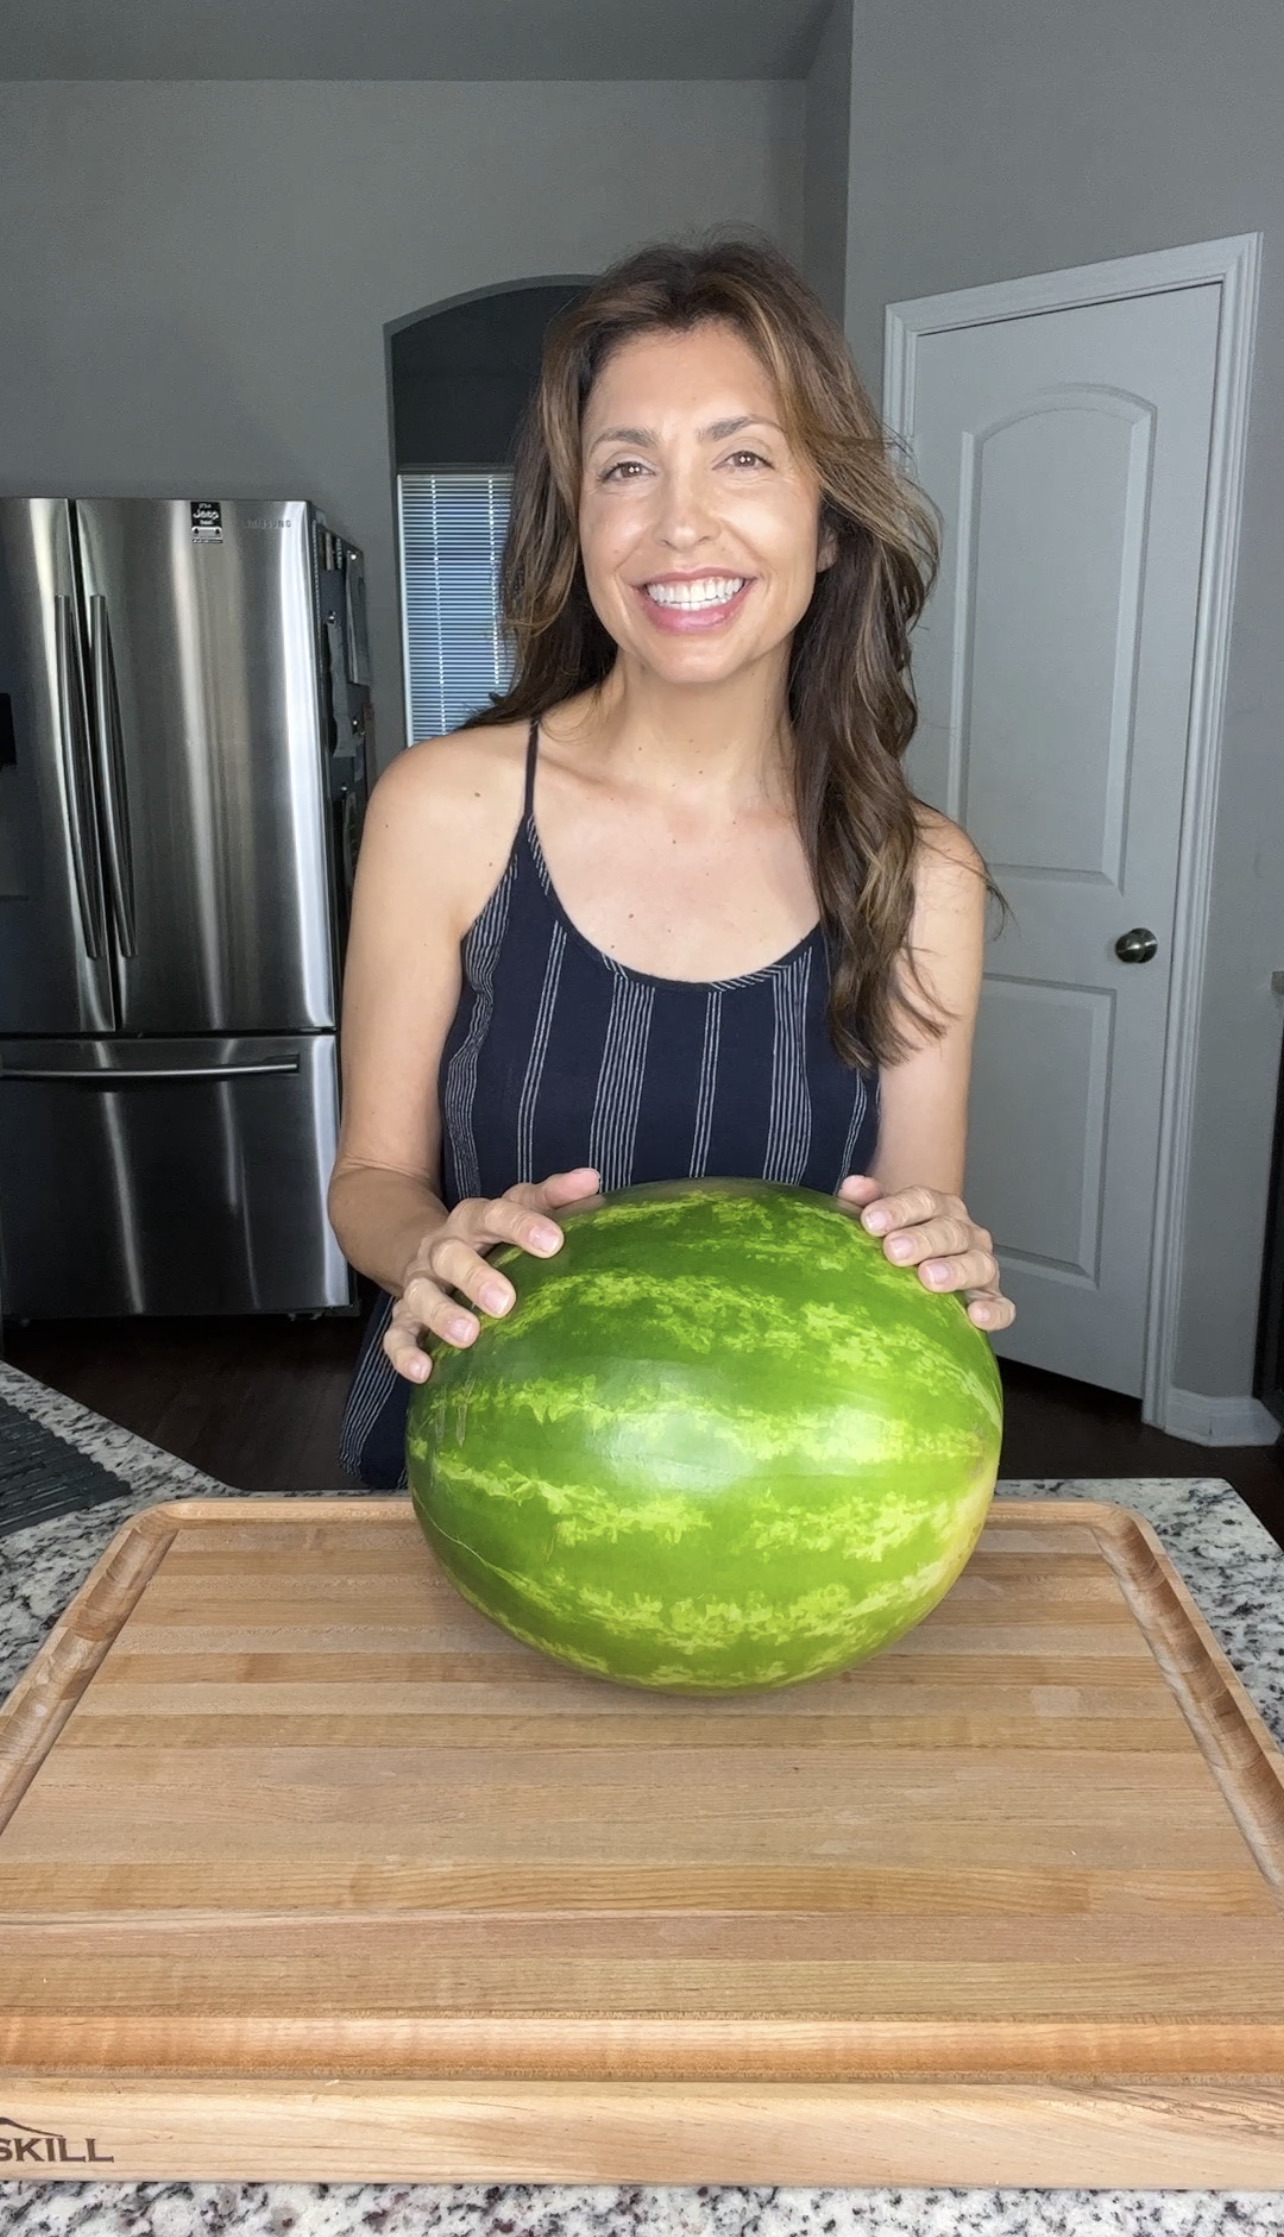
Hot days are still ahead; cool down with this refreshing watermelon salad. This is a fast, healthy, and delicious snack that will have you cooled down in no time! It’s quick and easy salad to pair with just about any grilled dinner option, bringing color and a refreshing addition to those hot summer days! With watermelon […]

Spicing it up in the kitchen is a must, even better with minimal effort. Between work, our busy schedules and trying to stay healthy, finding time to eat right and cooking dinner that will please the entire household can be tough. Being a mother of two and wife for twenty plus years, I’ve learned a […]
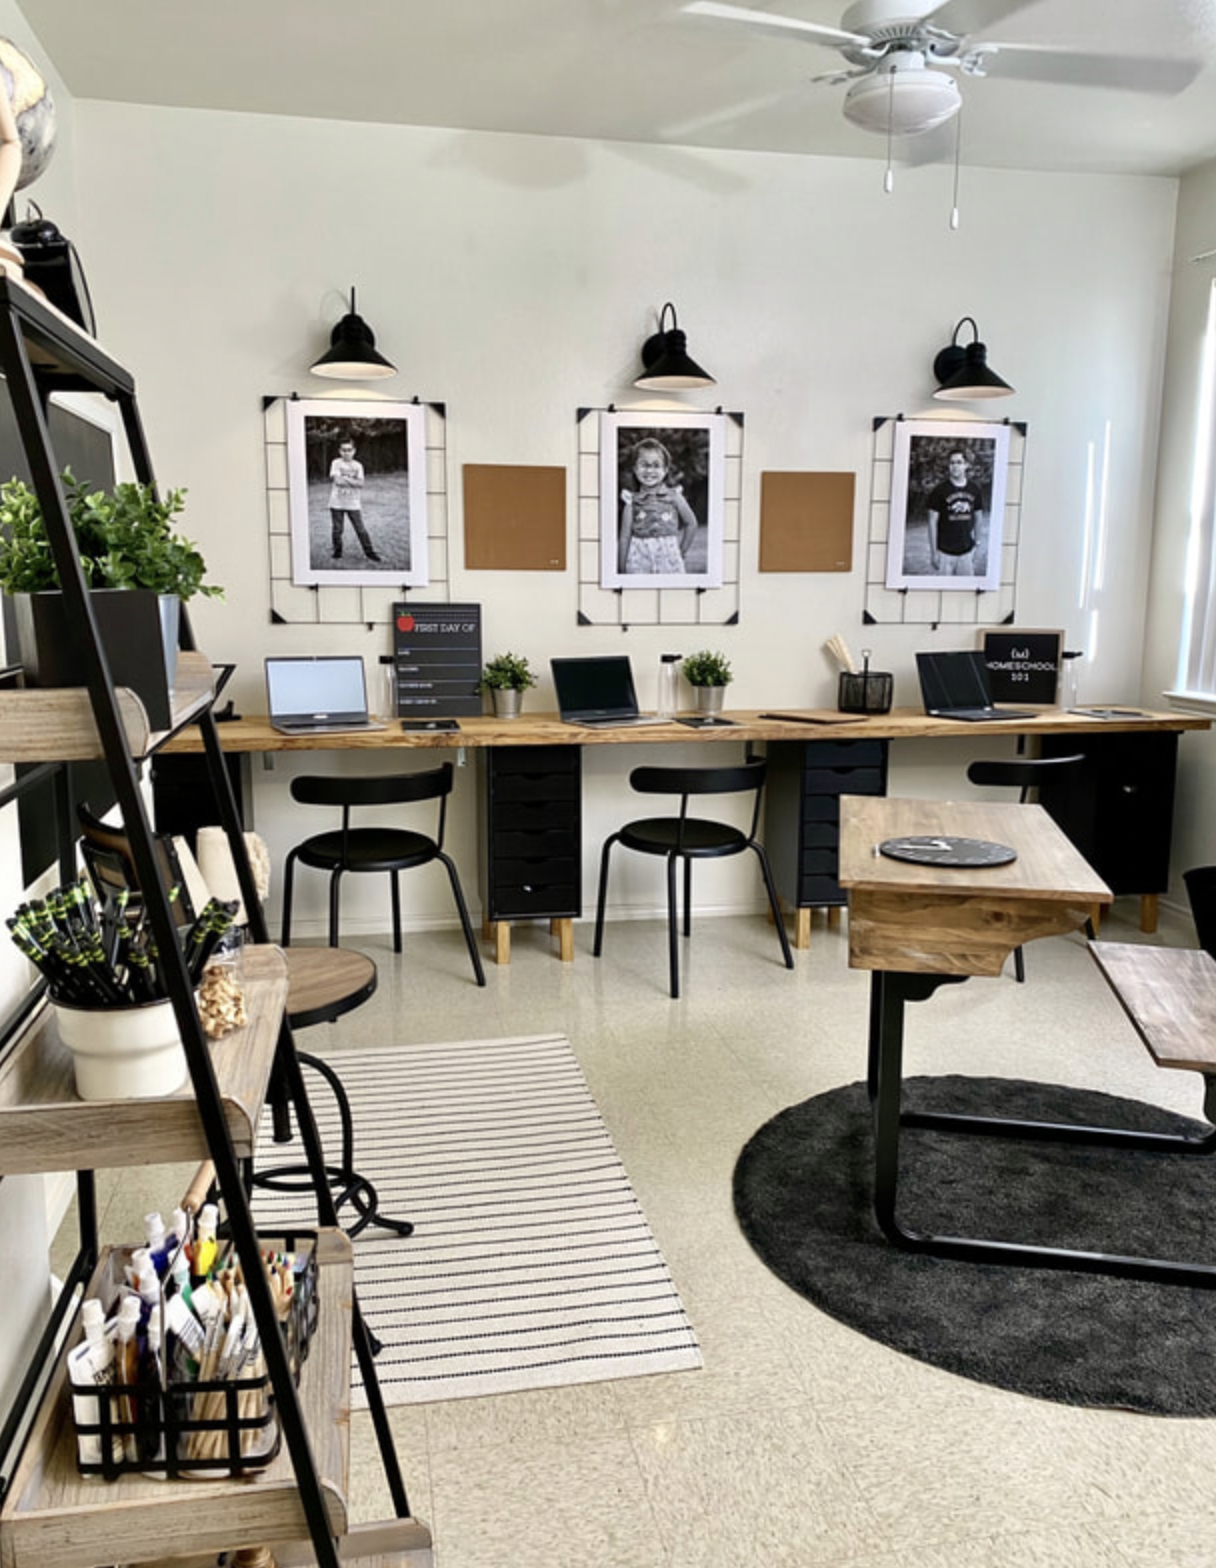
You asked for it, we’re giving it to you! When an Army family needed a homeschooling classroom remodel, we were there to help get it into shape. We set them up for learning success with a high contrast design that made the space both visually appealing and functional. We received a huge response from our […]
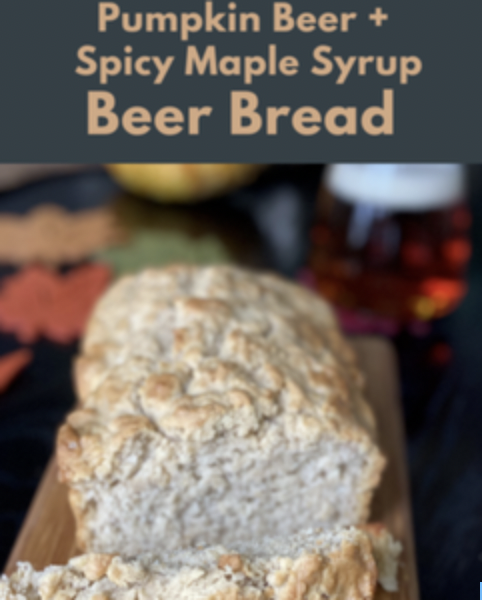
Oh this is so good! Perfect on it’s own or with a bowl of soup or dipped in cheese. Ok, I’m getting hungry now, what about you? So why beer bread? The yeast in beer = instant bread. Beer bread is in the oven in about five minutes, and on your plate in under an hour. […]


