Recently, I sat down with Amanda Baity to talk about all things gardening! In 2014, Amanda and her husband started a veteran’s service organization called Semper K9 assistance dogs. Amanda told us it all started with her husband's job in the marine corps, he worked as a dog handler, but after five combat tours, they decided these back to back deployments weren’t working for their family. Amanda knew her husband had a unique skill set as a dog handler and he needed a way to be fulfilled after leaving the marine corps. they decided to roll it into starting their own nonprofit, where they train service dogs for disabled veterans at no cost to the families. there is no doubt that Amanda and her husband are amazing humans. Besides working for her nonprofit organization, Amanda is also an amazing gardener. Right from the start, she told us the best way to learn how to garden is to try it for yourself! After having my first raised garden bed last year, I realized though it was beautiful, I had a lot to learn. It was so much fun to do, but I made a lot of mistakes. I am so thankful for all of Amanda’s knowledge! “I've just always had a passion for growing food for my family, there's nothing more satisfying to me anyway, sitting down at a meal, and all of the vegetables and possibly even the meat, you grew, you grew yourself, it's all yours even even, like just everything, even the butter that you use that you have, you know, so there's, to me, there's nothing just more satisfying than that eating the fruits of your labor.” Amanda told me. it’s so awesome, she is a great DIY gardener and repurposes a lot of around the house items for planters. Things such as milk jugs, toilet paper rolls, or egg cartons are all so amazing for starters. so essentially, if you have $1, at least $1, which you could get by doing all of this for free, you can grow your own garden wherever you are at! Here are some of Amanda's favorite gardening tips... 1. Make sure you check out the Farmer’s Almanac. The very first thing to do is to find out your estimated last frost date for your spring and summer garden, you need to know that date to know when your plants will succeed. to do that you go to almanac.com, the Farmers Almanac. This is really going to help determine when you need to start seeds inside or when you need to purchase the seedlings and your plant starts from your local hardware store. Amanda also suggests going to the farmer’s market to try to shop small if you can. If you can’t, you can also check out shops like tractor supply, home depot, Walmart, wherever it is that you can get plants. you don’t always have to start from a seed, buying starters is a great way to begin your first garden. 2. Find out what you want to grow. The next thing that you want to do is find out what you want to grow. Amanda told us we could check out her website to find her favorite places to shop for seeds. you can buy packages of seeds for as low as 25 cents. You can even get seeds from the food you are buying. I personally took the pit from an avocado and have stated my very own avocado tree, which I am so excited about! save your seeds! A great way to start it with starters and even making your own with recycled material you have around your house. Amanda told us all about the amazing world that is planting videos on YouTube. She even uses YouTube videos for tips on planting. She also posted her favorite YouTube accounts on her blog page. 3. How much space do we have to grow? After you’ve done some research, you can get an idea for what you want to plant and how much space you actually have to grow. Amanda has shared her Amazon store front with us to share some of her favorite and most helpful gardening tools that she uses every year. If you have 100 acres or a balcony in an apartment, you can start your own garden. The best way to find out what ways are best for you is research and the readiness to learn! Gardening can be a great source of relaxation. There is something very humbling about growing your own food, and I think everyone should try it. 4. Pests and Bugs. Amanda gave great information on what you can do for different pests that get into your garden, like grasshoppers and hornets that can hurt your vegetation or kill butterflies and bees who help pollinate produce. Turns out you can actually buy eggs or insects like praying mantis and place them in your garden, so when they hatch they are already there. insects like praying mantis’ or ladybugs are really good for protecting produce as it grows. You can find more awesome gardening tips like these over on her blog! Amanda is an amazing person and what her and her husband are doing over at Semper K9 is truly amazing. It was such an honor getting to talk with her and learn with her.
To watch her garden grow and for more handy tips and tricks make sure to check her out over on Instagram or YouTube. You can catch Moving With The Military LIVE on Monday's at 10:30 AM CST on Facebook for Maker Monday's!
0 Comments
We love helping our deserving military families on Moving with the Military. But in this new season, we feature a family that faced complete devastation during their PCS when their moving truck caught on fire and destroyed most of their belongings. Military members and their families are already asked to make so many sacrifices. After they lost everything, we knew we had to help this family by creating a home for them where they could rebuild and begin making precious new memories. Todd Bowers, the director of Social Impact at Wayfair, is a Marine Corps Veteran and along with many of our other partners, was on board to help out this deserving family and try to find beautiful replacements for special items that were lost in the fire. Our homeowners love white decor. We know that you have to include other complementary colors to the decor in order to give each room dimension. So we combined their love of the way light colors enlarge a space and give it a breezy flow, and with the help from our sponsors, we added some inspired style touches to make sure this family got the new home they deserved. I’m linking the Wayfair items that were used in this design, along with some similar items we used that they have available so you can create this same vibe in your home. Mix and Match our way to style Starting with the dining room, we found a way to mix and match dining chairs, a rectangular solid wood dining table and these gorgeous accent chairs. Along with the flowy curtains, it really gave their dining area a fresh and open feeling. Keeping it Bright and Airy Moving into the next room, the comfy white couch we used in the living room had beautiful wooden feet. Wayfair offers a similar style couch that comes in different colors and fabric blends to fit your tastes and- if you’re like me- your need for blended fabrics that help hide those family stains. Inspired by this style? Grab an arm chair while you're at it to complete the look. Get a living room table set in this cool, light stain to keep that bright, airy feeling going, and spruce up your decor with buffalo plaids and neutral colors throughout. An Eye For Design It’s all about the details! Candlesticks and wooden trays ground a space and we always make sure to add that greenery to make it feel finished. A blanket ladder and woven baskets for cozy blankets highland bull and bison prints for a rustic homey look. The thing I love about Wayfair is they offer great style at any budget. And you don’t even have to leave the house to find it! You can follow this makeover by finding the episodes here, episode 1, episode 2, episode 3, and make sure you stay tuned for more great DIY and makeover tips by following Moving with the Military on Facebook and Instagram.
Fun ways to celebrate Galentine's Day(FEB. 13TH!) with creative snacks, drinks and DIY decor!2/6/2021
We’re all familiar with Valentine’s Day, but do you celebrate Galentine’s Day?
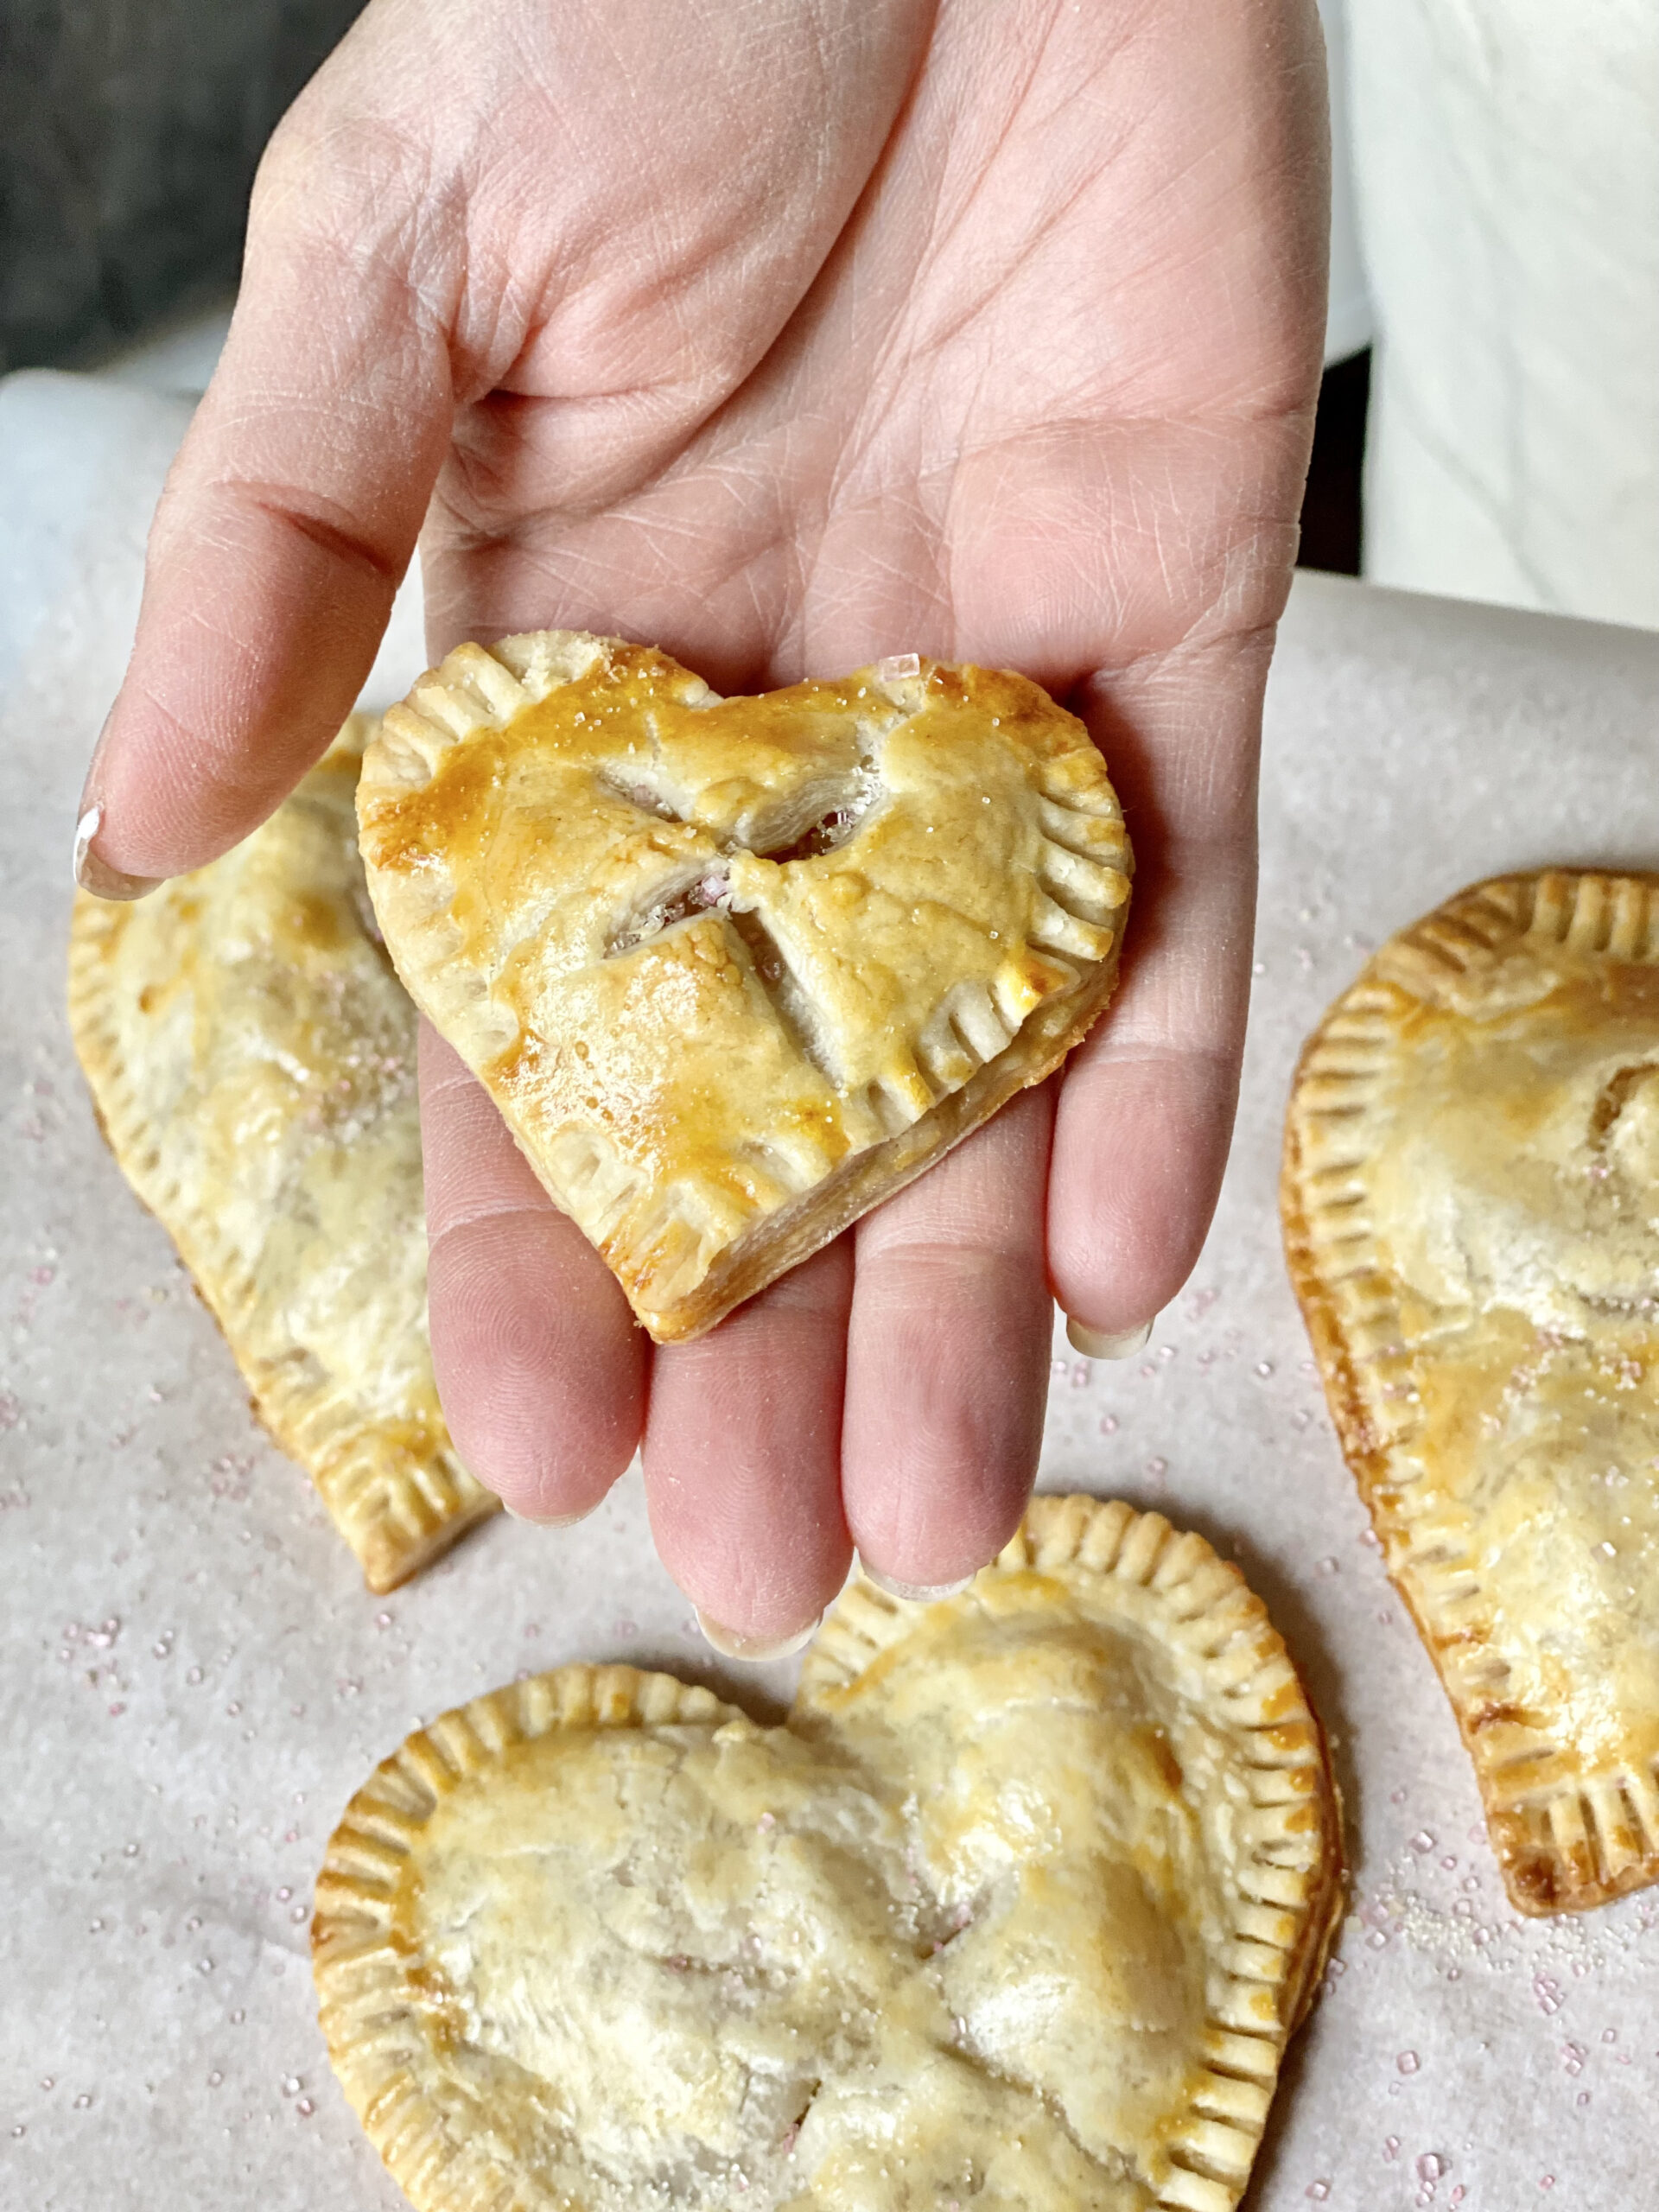
If not, you definitely should. When you’re a military spouse and your soldier is deployed, or you don’t have a romantic love-interest, or you just aren’t into doling out cash when everything is marked up for the occasion, Valentine’s Day can definitely feel like a drag. I have a fun alternative that you’re going to love! Every February 14th American’s spending goes through the roof! Valentine’s Day spending hit over an estimated $27 BILLION last year alone!! Seriously?! If you think about the increased rate hikes of just going to a nice dinner on Valentine’s Day, that definitely tracks. Galentine's Day is the love holiday that brings together your favorite people in a more inclusive way AND you can celebrate it in a ton of creative ways— without breaking the bank. Celebrate Galentine’s with your Favorite Friends. Galentine’s Day is February 13th, and it’s not just for romantic partners. It's for your best friends, your ride or dies, your besties, your battle buddies. You get a chance to celebrate friendship and have some much needed gal-time, however you choose. I want to share a fun way to launch your own Galentine’s party with simple homemade snacks, tasty beverages, and festive decorations that will make for the perfect celebration with your besties.
Galentine's Decorations
Be Kind to your budget while you celebrate your friends with these simple, fun additions to your Galentine’s table.
Give a Nod to the Military Life with These
M&M Candy Jars Did you know that m&ms were originally made for the military? They started out exclusively as military rations during World War II! They were a perfect non-melt snack for American soldiers deployed overseas. For your Galentine’s Celebration, fill a mason jar or decorative container with pink and white m&ms to show your love. Are you loving all these tips but still need a visual demo? You can catch the whole video where I make these treats and more for a Galentine's Day celebration with one of my besties here. Don’t forget to share your Galentine's Day celebrations with us on Facebook and Instagram!
Hey Everyone!
This blog may contain Amazon Affiliate Links which means that I will receive a small commission on any purchases you make at absolutely no cost to you! The purpose of my blogs is to share some great budget friendly DIY's and to share all the tips and tricks that I know with my readers and the viewers of my videos. If you do make a purchase through any of my affiliate links Thank you so much for your support! Maria Reed, Moving With The Military.
Did you know that you can make a candle with just about anything? You can pretty much use any vessel. Today, I'm using vintage wooden salad bowls, I love these, because they’re similar to the popular dough bowls but for a fraction of the cost, and I love that they remind me of my mom and my sister from the 70's and that I found them at the thrift store for 10 cents each!
You don’t have to go thrifting though, you can also reuse old candle vessels, or little glass jars like Yoplait Oui yogurt containers or even a coffee or tea cup. I especially love “no spend or dual purpose” containers. Here are some of the things you’re going to need to make your very own candles:
You can find bags of Soy wax flakes on at your local craft stores and even on Amazon.
A common misconception about making your own candles from home is that once you melt the wax you’ve got to work really quickly to pour it- but I want to let you know that you don’t have to work that fast. I melted this wax and waited about 10 mins before pouring it, and it still worked out great!
First, you're going to need to clean your vessel, make sure it's free of dirt and dust and previous wax. Next, melt your wax in your double boiler, they recommend you pour your wax when candle wax is 136 degrees- I've tried both ways, I've tried it 136 degrees, I've tried it right off the double boiler when it's about 160 degrees... it's worked fine, all this to say- candle making at home is flexible. I generally, just eyeball it when I am making DIY Candles- but that’s just me. If you’d like to you can use a candle thermometer. When the wax is melted pour your fragrance right into the melted wax. You can use a metal stirrer or a wooden stick to mix in the scent. I don’t really measure, for those of you who like recipes, I suggest a few drops per oz, but it really depends on your preference. If you want a more mild smelling candle, use less, if you want to make a very fragrant candle, use more, but you wouldn't use more than one ounce of fragrance per one pound of wax. The scent always lessons when the wax is hardened. Okay, next you’re going to take some hot glue and glue the bottom of your wick, and secure it to the bottom of your vessel. Pro tip: Make sure your glue gun is nice and hot! If you don’t your glue won't hold when the wax is poured in and your wicks will float to the top.
Next, wrap your wick around your wooden skewer, and lay your skewer flat on your vessel.
Make sure your wick is nice and straight, before you pour the wax into the vessel. Pro Tip: If you are using wood wicks, you can use two skewers to sandwich the wick and hold it up straight.
Now it’s time to pour the wax. Grab your melted wax with your fragrance of choice mixed in and get ready to pour! It works best if you stand up and get right above your vessel. I love using this large metal pitcher to make sure you have an even pour.
Pro Tip: SLOW and steady- I recommend standing in one spot and slowly pouring the wax in until you are almost near the top. Pouring slowly helps you not get craters, divots, sinkholes. As the wax dries, it will shrink up a lot, so you want to pour it all the way to the very top! It's gonna sound crazy but when it cools, it shrinks. The biggest suggestion I can make when making candles at home is that once you pour it- you let it sit. DO NOT move it until it has hardened.
Now, don't move it and let it cool. Because if you start to move it around that's when you get craters or divots in your candle.
If your candle dries and there's a sinkhole -you don’t have to start over again! Some fill in it with wax, or you can do like the Pros do and use a heat gun like the one pictured down below. Pro Tip: Stay away from the wicks because a heat gun can catch the wicks on fire!
Now it's time for the final touches, after it’s fully cooled, you can cut the wicks shorter, tie with pretty bow and it's all set to go!
I love to make candles for the holidays. This is something that not even just the holidays, new neighbors, it's a great little gift to bring to someone. And you'd be surprised when you start making them just how inexpensive it is. So Maria, what do you do with the leftover wax? It’s unavoidable, you will have some leftover wax- I save it in tins or other vessels I'm not using, but whatever you do- do not pour it down the sink. If you want to watch me make this awesome candle step by step you can catch the whole video here on Facebook. Don't forget to share your very own DIY Soy candle creations with us on Facebook and Instagram! Can't wait to see what you'll make!
Hey Everyone!
This blog may contain Amazon Affiliate Links which means that I will receive a small commission on any purchases you make at absolutely no cost to you! The purpose of my blogs is to share some great budget friendly DIY's and to share all the tips and tricks that I know with my readers and the viewers of my videos. If you do make a purchase through any of my affiliate links Thank you so much for your support! Maria Reed, Moving With The Military. |
AuthorMaria Reed Archives
March 2021
Categories |